
Dial the following numbers for...
500 - I.T Support
502 - Customer Services
503 - Retentions
504 - Amendments
500 - I.T Support
502 - Customer Services
503 - Retentions
504 - Amendments
Customer Services: 01932 807 350
This document is a step by step guide of the customer pack process. This guide will demonstrate very simply how to generate and send off the packs.
Firstly, what are customer packs?
Before the customer receives a pack they will have to fill in a few details online and eventually get in contact with one of the sales agents. The sales agent will run through their details and ask the appropriate questions making sure they get the correct cover at the best price possible. When there is an agreement between both parties and an insurer is happy to go ahead, the customer�s information will be filed together in a pack. This will contain all the essential information that the customer needs throughout their insurance policy until the end date.
When the admin team have organised the customer�s pack they will send it off via post, reaching the customer within a few days. It is in fact a very simple to arrange and more than 50 packs get sent off every single day.
What do the packs contain?
The packs contain vital information about the customer�s policy, their health and finances so it is very important that the customer gets sent all the right data. Packs will also contain a trust form which the customer will have to fill out. The pack also comes with a small pre-paid envelope which is for the trust form which is be sent back in by the customer.
Before you can begin checking and sending off packs, you will need to open up Google Chrome until you find yourself on this page:
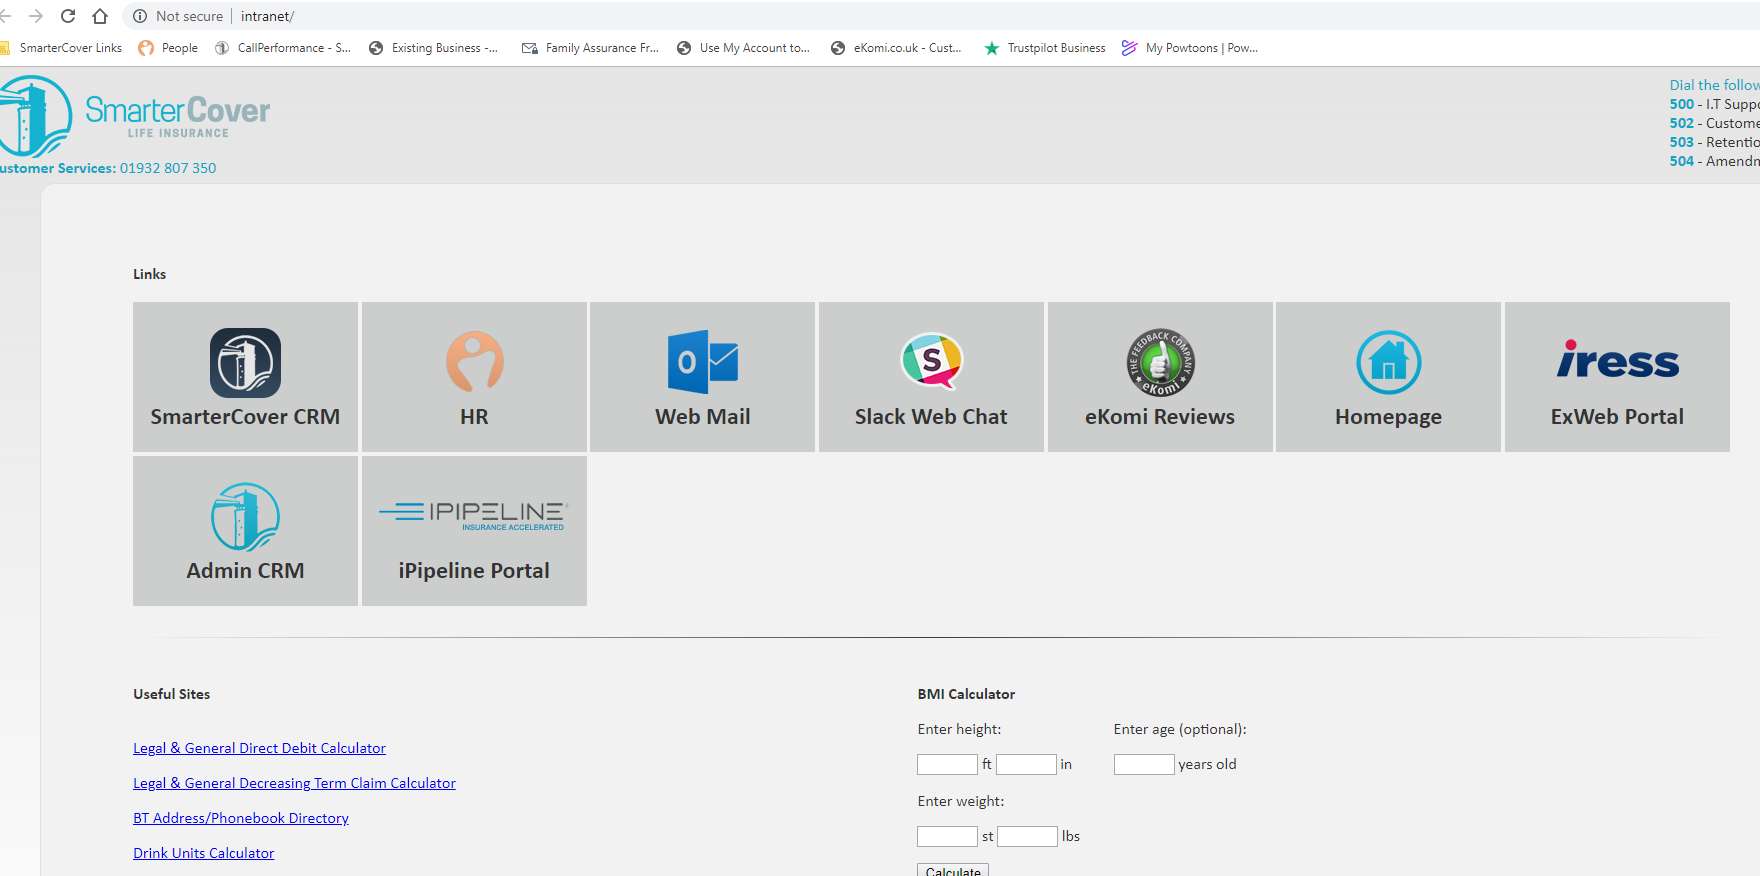
You will then click on Admin CRM, which will take you onto the login page. Enter in your details and you will then be on this page.
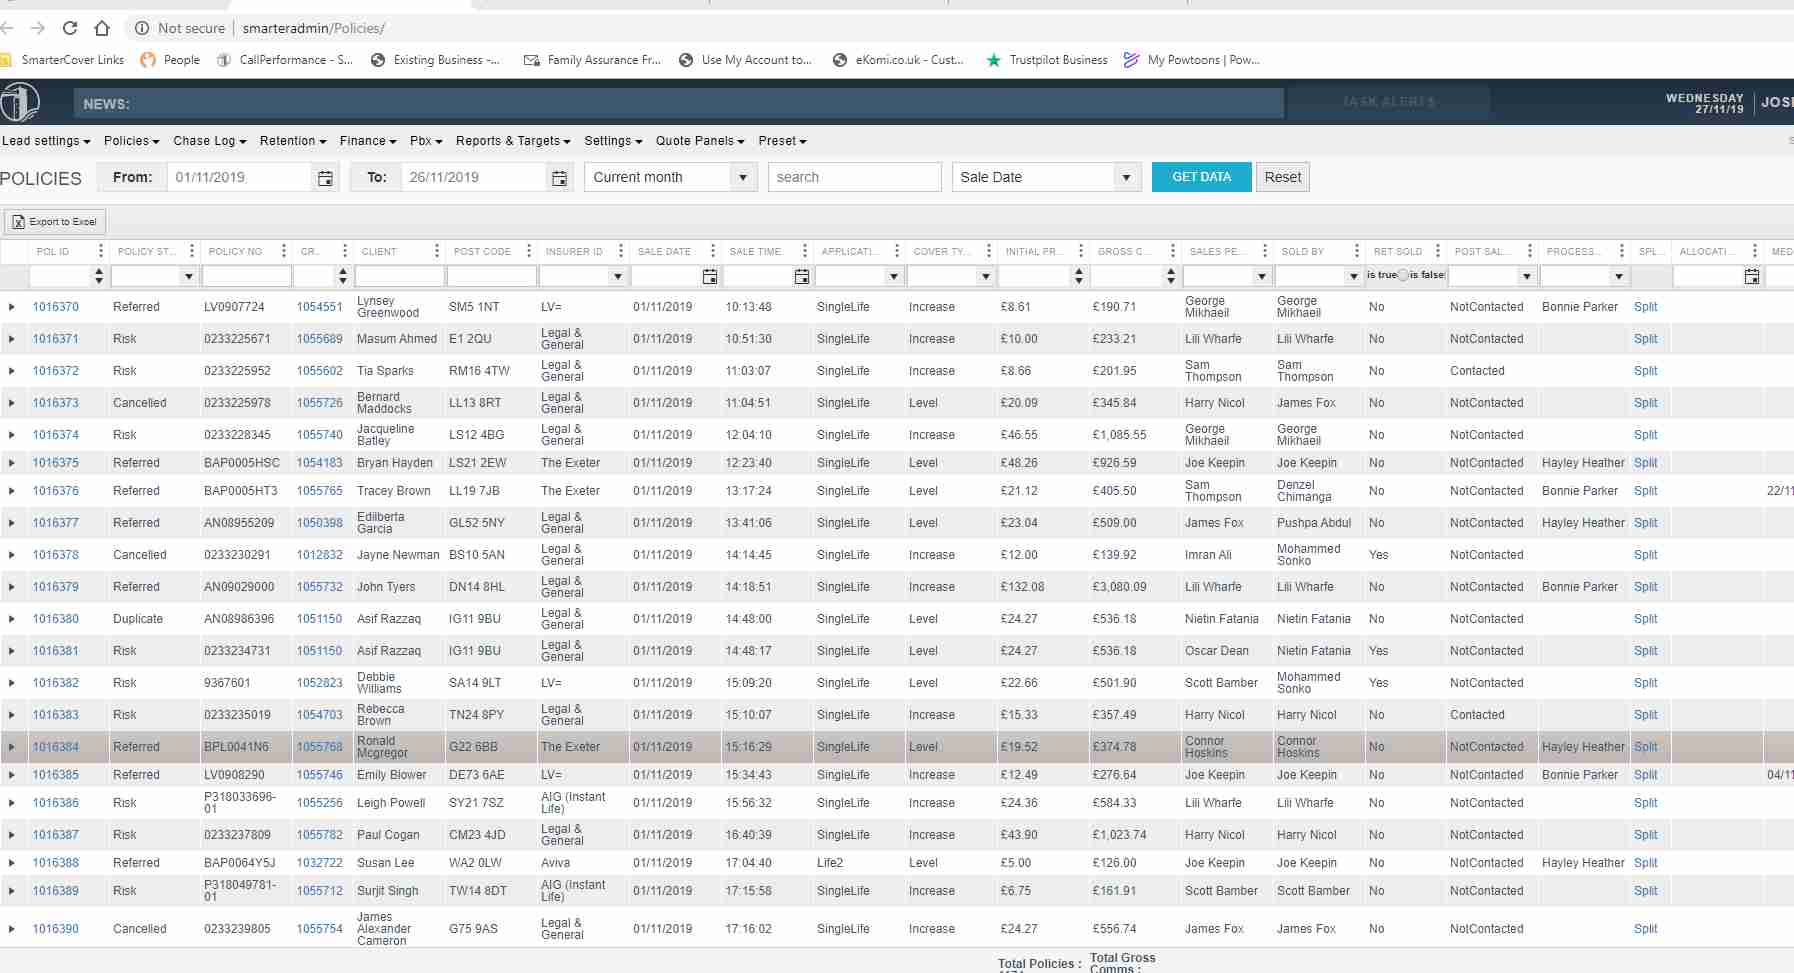
You will arrive on the policies page. It may look complex but finding where the packs are located is very easy.
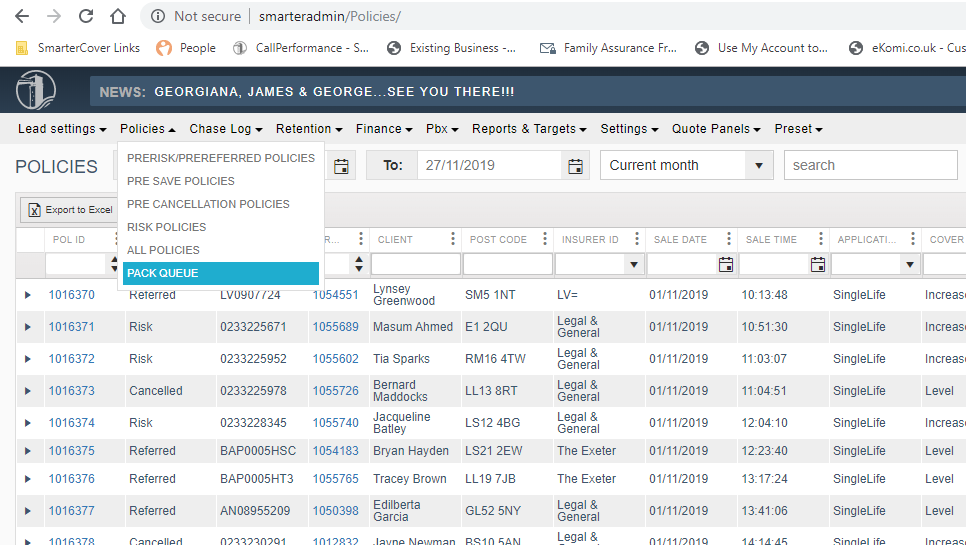
You then want to hold the mouse over �policies�. A tab will then drop down and then you should click on pack queue.
After clicking �pack queue� you should end up on this screen:
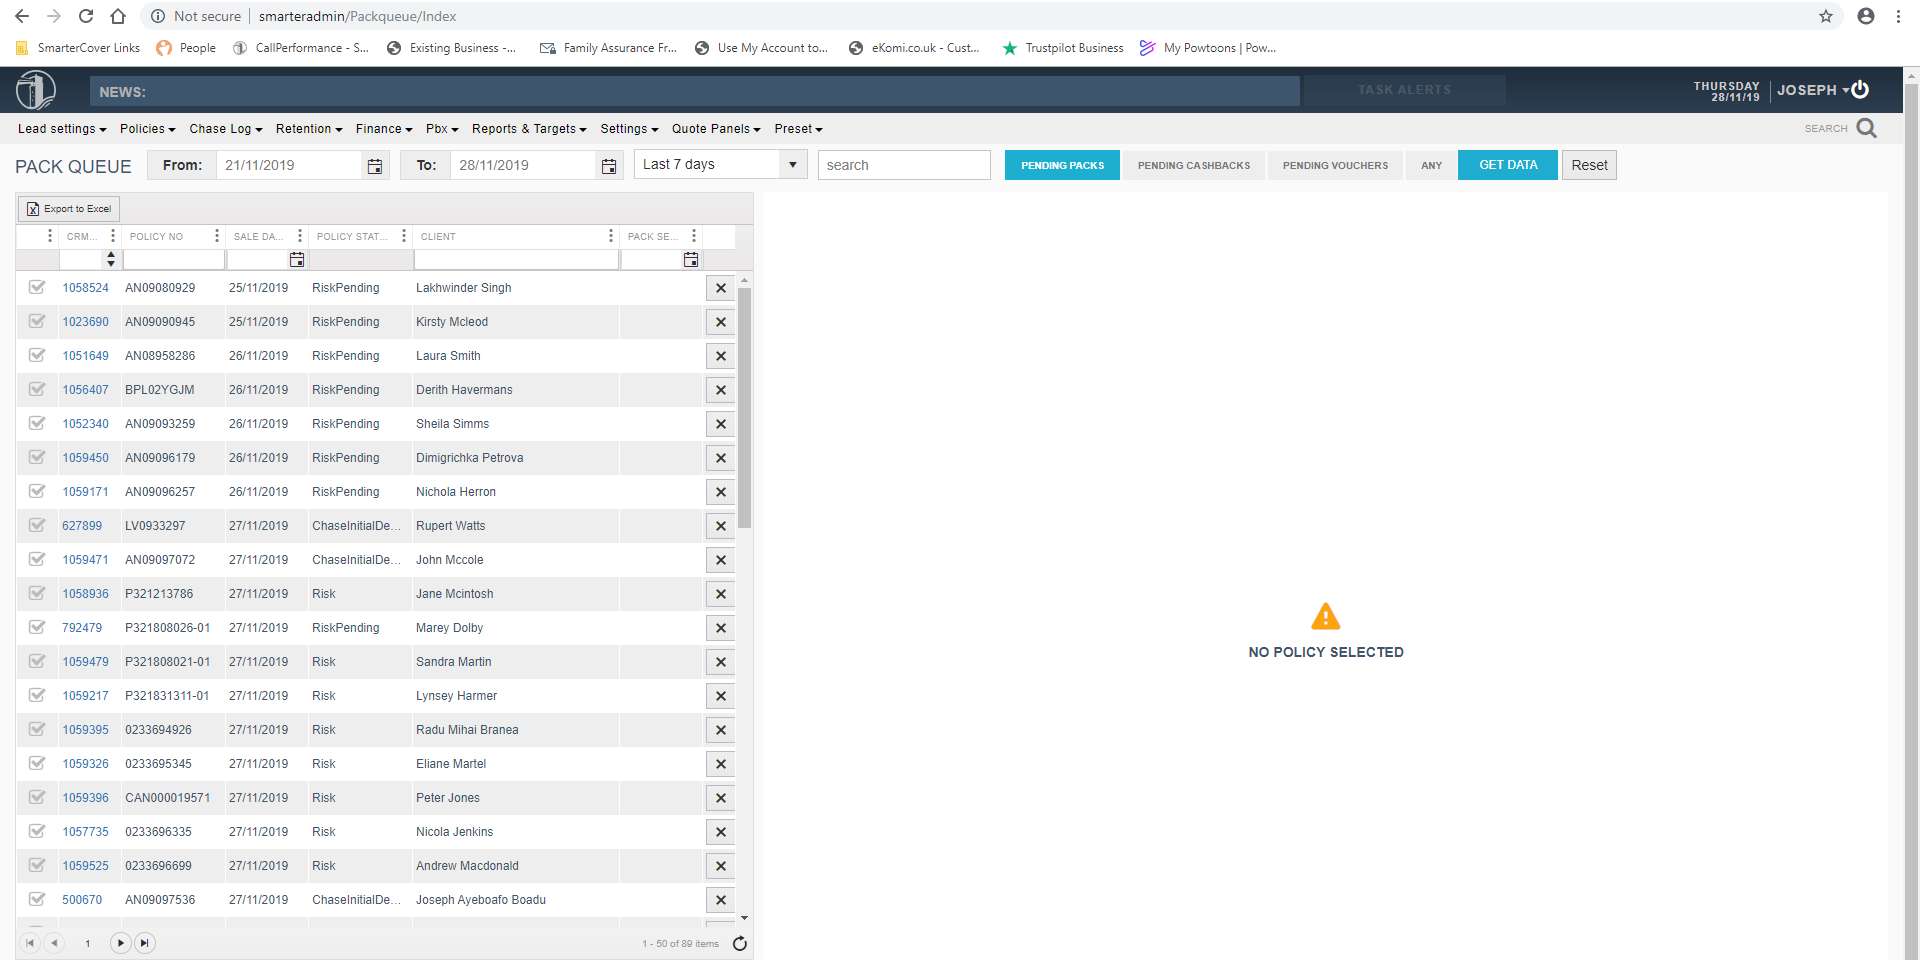
On this page you can see the all the packs within the selected date range.
This section shows the customers packs, their policy number and the policy status.
IMPORTANT � Before you can begin printing the packs, make sure you have chosen the date as the previous day. Otherwise, you will end up printing every single pack on the system, taking a very long time! You will find 40-70 packs on a normal day however, towards the end and the beginning of the month you may be slightly overloaded. Organisation and efficiency is very key.
The policy status of the pack will either say �risk� or �referred� � These are the policies which must be printed off.
When you select a policy, the customer�s details will come up. You must scan the page and information very carefully making sure that the sum assured, term and monthly premium in the most recent notes match the details already displayed.
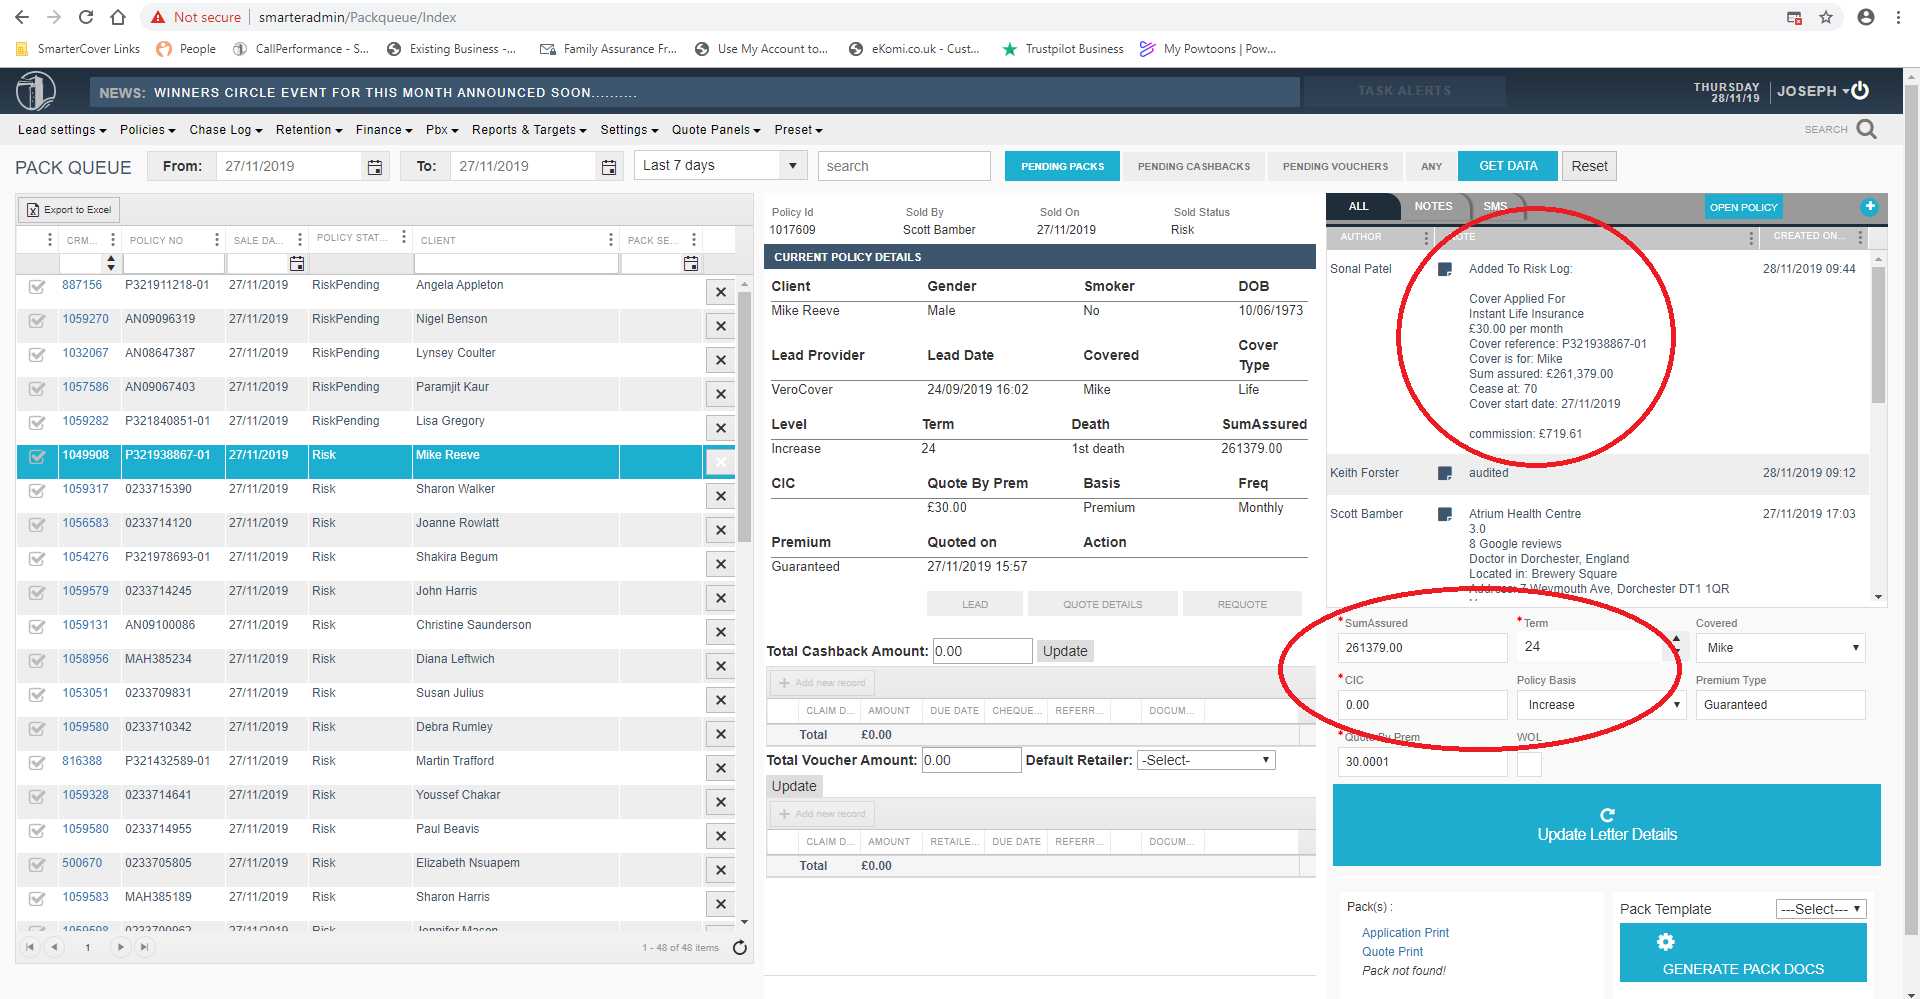
The two red circles show where the notes and original customer information are. Make sure you always use the details which are provided in the notes at the latest. It is essential that the details are the same as the ones on the notes because this is what has been agreed between the sales agent and the customer.
Moreover, when you have checked that everything is correct or the details were originally correct you may discover that the pack is already generated. You would know this when it says �view pack policy� or it would say �pack not found�. This comes under here:
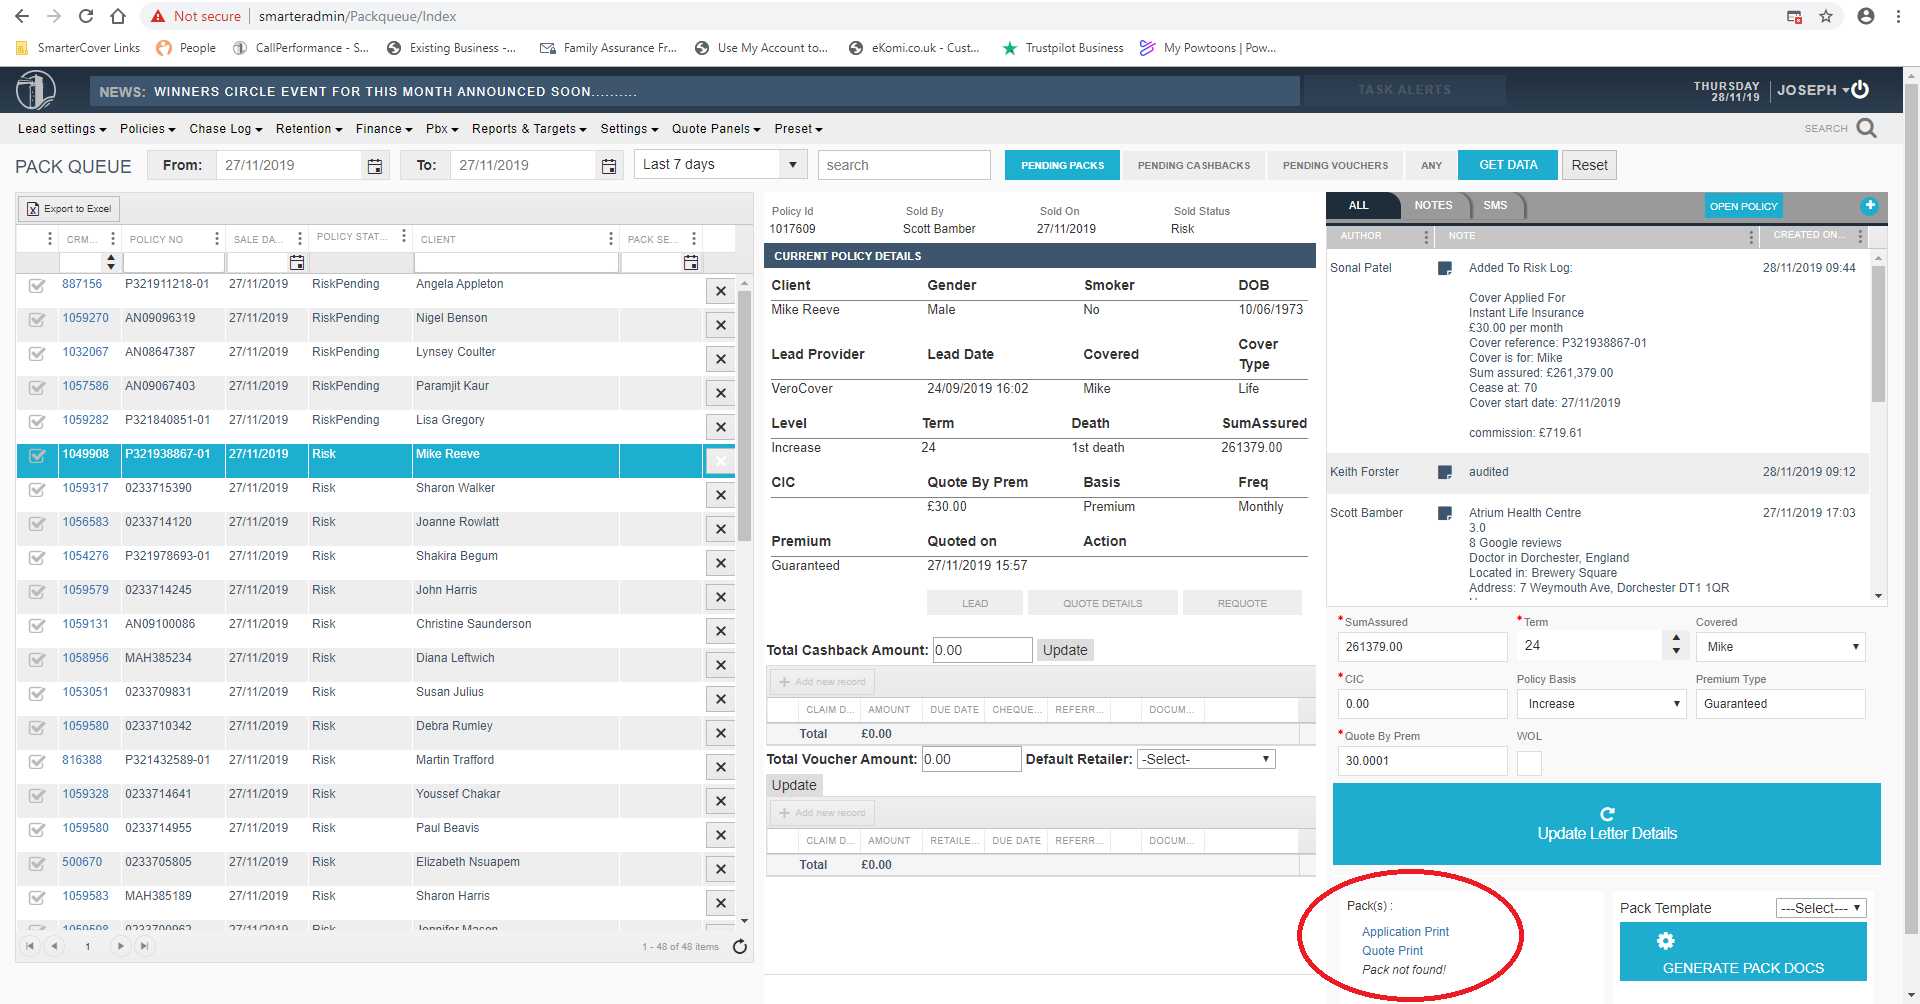
If the pack is not found all you have to do is click on the bottom right corner where it says �generate pack docs�. The system will automatically load up the documents and all you will have to do is print off the papers.

Make sure you select all pages so that the whole pack gets printed off. Make sure you send the packs to the correct printer so that they can all be organised together.
After successfully printing the pack, you need to then click on the �quote print� button. All you need to do when printing this off is to only print the first page. You can change this as shown below.
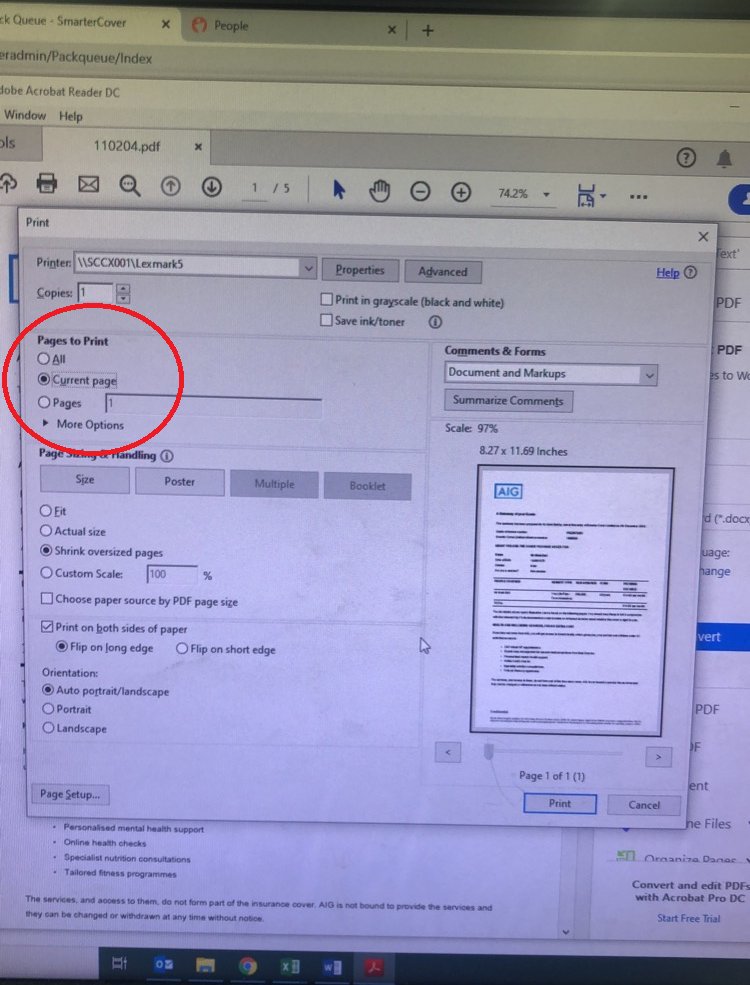
Make sure you change the settings so that you can print the current page. Quote prints do not need the rest of the pages for the pack.
When you eventually click print, the pack will be together and can be easily arranged. Now that the packs have been printed, you should expect a huge pile of paper. It may look like a lot of work but this is where your organisation and efficiency come into place.
When you organise the packs you need to find the trust form pages and move them to the side. You will then have 3 sections:
- The Policy Pack
- Trust Form
- Quote Print

Staple the trust form together and slide the small envelope with the �Smarter Cover� address with it. Have the quote print page at the bottom, with the trust form in the middle. Make sure that when you place the papers in the large envelope, you can see the name and customers address through the see through section on the envelope. The name and address of the customer will be on the very first page of the policy pack.
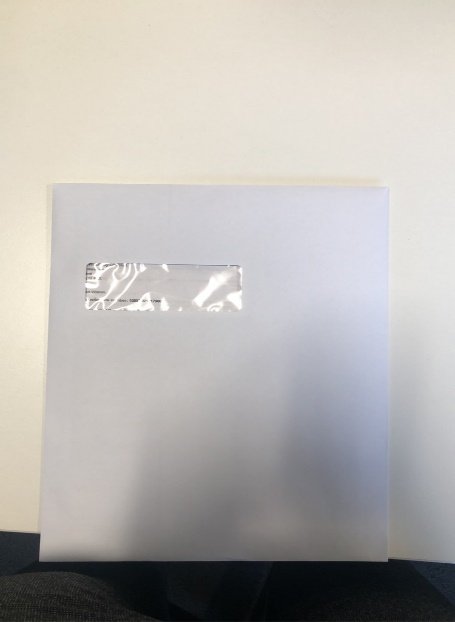
This is the end result. The address of the customer should be clearly visible. This is so that it can be delivered straight to the customer via post. The last thing required for the pack is a stamp. Packs should always be given a second class stamp by the Royal Mail.
THIS WEBPAGE IS INTEDED FOR INTERNAL USE ONLY. Smarter Cover Limited.